Choosing Temporary Fences That Meet Standards and Withstand Site Challenges
Temporary fencing is more than just a site accessory, it’s a safety system, compliance requirement, and security barrier. The right fencing reduces risk, keeps projects compliant, and protects valuable equipment, while poorly chosen fencing can lead to collapses, fines, injuries, and costly delays.
Suppose you’re asking yourself how to choose the right temporary fence for your construction site. In that case, this guide walks through the essential steps—focusing on standards, durability, and the unique challenges of your project environment.
Step 1: Define the Purpose of Your Fence
Every construction site has unique priorities. A fencing system that works perfectly for a suburban housing project may be unsuitable for a large infrastructure development. Before selecting a fence, clarify the key drivers:
- Safety: Protecting workers, visitors, and the public.
- Security: Preventing theft, vandalism, and trespassing.
- Compliance: Meeting regulatory and safety obligations.
- Performance: Withstanding wind, uneven ground, and harsh conditions.
Write down your top three fencing priorities to guide your decision-making.
Step 2: Check Compliance with Recognised Standards
Compliance is non-negotiable. Temporary fencing must be tested and certified to meet industry performance benchmarks. Too often, non-compliant fencing looks similar to certified products but fails under real-world pressure.
Key areas of compliance include:
- Wind resistance: Panels must withstand strong wind loads.
- Security: Preventing theft, vandalism, and trespassing.
- Impact resistance: Fence lines should remain stable if struck.
- Structural integrity: Joints, couplers, and bases must resist collapse.
In Australia, for example, AS 4687: Temporary Fencing and Hoardings sets clear testing requirements. Similar standards exist internationally, and using certified products gives you documented assurance against liability.
Always request compliance certificates from your supplier.
Step 3: Match Fence Design to Site Challenges
No two sites are the same, which means your fencing must adapt to conditions on the ground.
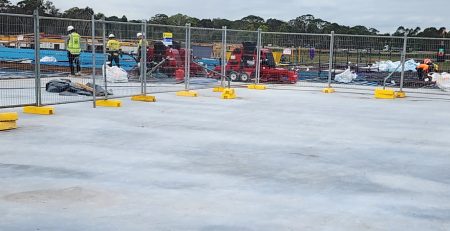
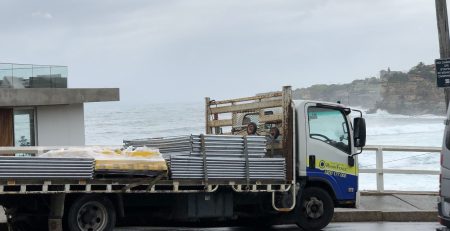
Wind and Stability
Strong winds are the leading cause of temporary fencing failures. A simple gust can create a domino effect, toppling entire fence lines:
- Choose wind-rated panels tested under load conditions.
- Use stabilisers, bracing systems, and ballast blocks for support.
- For exposed sites, consider engineered hoardings or reinforced panels.
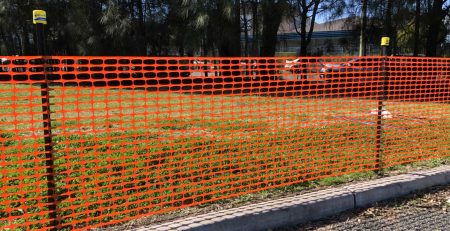
Security Risks
Construction sites are frequent targets for theft, trespass, and vandalism. Unprotected sites can lose thousands of dollars in stolen tools and materials overnight:
- Install anti-climb mesh panels with small apertures.
- Use reinforced couplers and anti-cut wire thickness.
- Add lockable gates to control access points.
- Integrate lighting and CCTV poles where necessary.
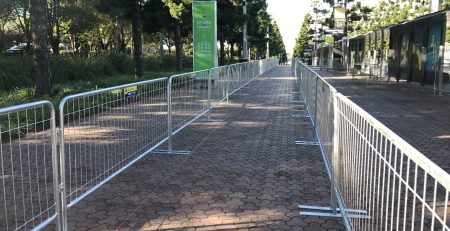
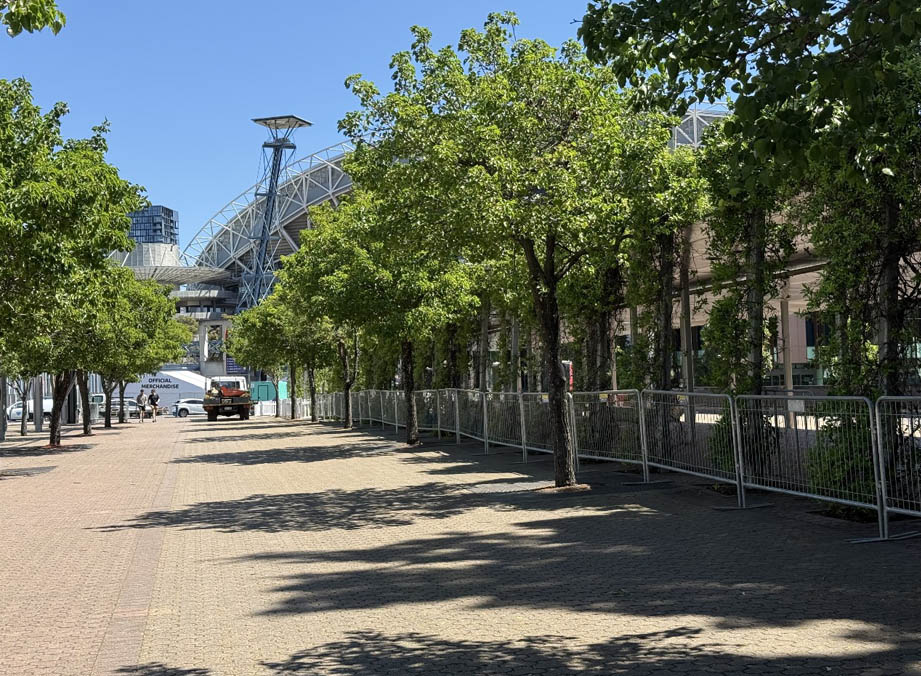
Terrain and Durability
Sites rarely offer flat ground or predictable weather. Your fencing must cope with mud, gravel, sloped terrain, and extreme weather:
- Select galvanised or powder-coated steel panels for corrosion resistance.
- Choose heavy-duty bases that work on gravel, mud, or sloped terrain.
- Opt for panels that balance strength with ease of relocation.
Match fencing to your site’s worst-case scenario, not just day-to-day conditions.
Step 4: Balance Cost with Long-Term ROI
Temporary fencing should be viewed as an investment rather than a throwaway item. The cheapest alternative may save money initially, but it frequently fails, resulting in significantly greater long-term expenditures.
Factors to weigh up:
- Upfront hire or purchase cost.
- Reusability across projects.
- Reduction in safety incidents and downtime.
- Insurance benefits for certified fencing.
- Durability in multiple site environments.
Don’t choose the cheapest option—choose the system with the best lifecycle value.
Step 5: Plan for Installation and Inspections
Even the best fencing system can fail if poorly installed. Installation and maintenance are just as important as panel choice.
Best practices:
- Use qualified installers familiar with wind-rated systems.
- Space and secure panels correctly with rated couplings.
- Add ballast or braces where required.
- Conduct routine inspections, especially after storms or site incidents.
- Replace damaged panels immediately.
Keep inspection and maintenance records for accountability.
Step 6: Make Fencing a Team Decision
Fencing decisions should not sit solely with procurement. A collaborative approach ensures all risks are covered:
- Safety managers: Focus on compliance and liability.
- Project engineers: Ensure structural stability.
- Security teams: Assess risks and intrusion prevention.
- Project managers: Balance cost with timelines.
Develop a requirements checklist with input from all stakeholders before choosing a system.
Conclusion: A Smarter Way to Choose Temporary Fencing
It’s really important to remember that temporary fencing is not just about enclosing a site. It’s about safeguarding people, protecting assets, and ensuring compliance.
By following this structured approach—defining purpose, checking compliance, aligning with site challenges, balancing ROI, ensuring proper installation, and involving stakeholders—you’ll secure a fencing system that meets standards and performs under pressure.
Have you faced issues with fencing on site—like compliance, wind loads, security, or cost? We’d love to hear your questions or lessons learned.