How to Measure a Site for Temporary Fencing
Accurate site measurement is the first step in installing temporary fencing. Whether for a residential build, renovation, or small construction project, knowing your site’s dimensions ensures the fencing fits properly, stays stable, and keeps the area safe.
This guide explains step-by-step how to measure your site, with practical tips for corners, slopes, and access points, in a way that’s easy to follow even if you’re not a construction professional.
Step 1: Gather Your Tools and Prepare the Site
Before measuring, make sure you have the right tools and a clear space:
- Measuring tools: A tape measure or measuring wheel works well for longer distances.
- Markers: Stakes, chalk, or spray paint to outline boundaries.
- Optional tools: Spirit level or laser level for slopes.
Preparation tips:
- Walk the perimeter to identify obstacles like trees, driveways, or existing structures.
- Remove any debris or equipment that may interfere with accurate measurement.
Being prepared makes measuring faster, easier, and more accurate.
Step 2: Measure the Perimeter
The perimeter determines how many panels you’ll need and where they go.
- Start at a fixed corner and measure along one boundary at a time.
- Record each segment, especially if your site isn’t perfectly square.
- Long straight runs can be measured with a tape or wheel; for smaller areas, a standard tape measure works fine.
- Tip: Sketch the layout as you go, noting lengths of each side and any irregular shapes.
This step ensures the fencing will cover the site completely without gaps.
Step 3: Check Corners and Angles
Corners affect how panels connect and stay secure:
- Internal corners (turning inward) may need extra stabilisers.
- External corners (turning outward) might require special clamps.
- Mark corners clearly on your sketch to show installers where adjustments are needed.
Accurate corner measurements prevent unstable or misaligned fencing.
Step 4: Account for Slopes and Uneven Ground
Slopes and uneven surfaces can make fencing less stable if not planned properly.
- Measure the horizontal distance along the slope and note any height changes.
- Identify low points where panels might sink and high points where they could lean.
- Professional installers can adjust supports or add ballast for stability.
Tip: Noting slopes on your plan helps ensure panels are secure and safe.
Step 5: Plan Access Points
Access points are essential for movement around the site:
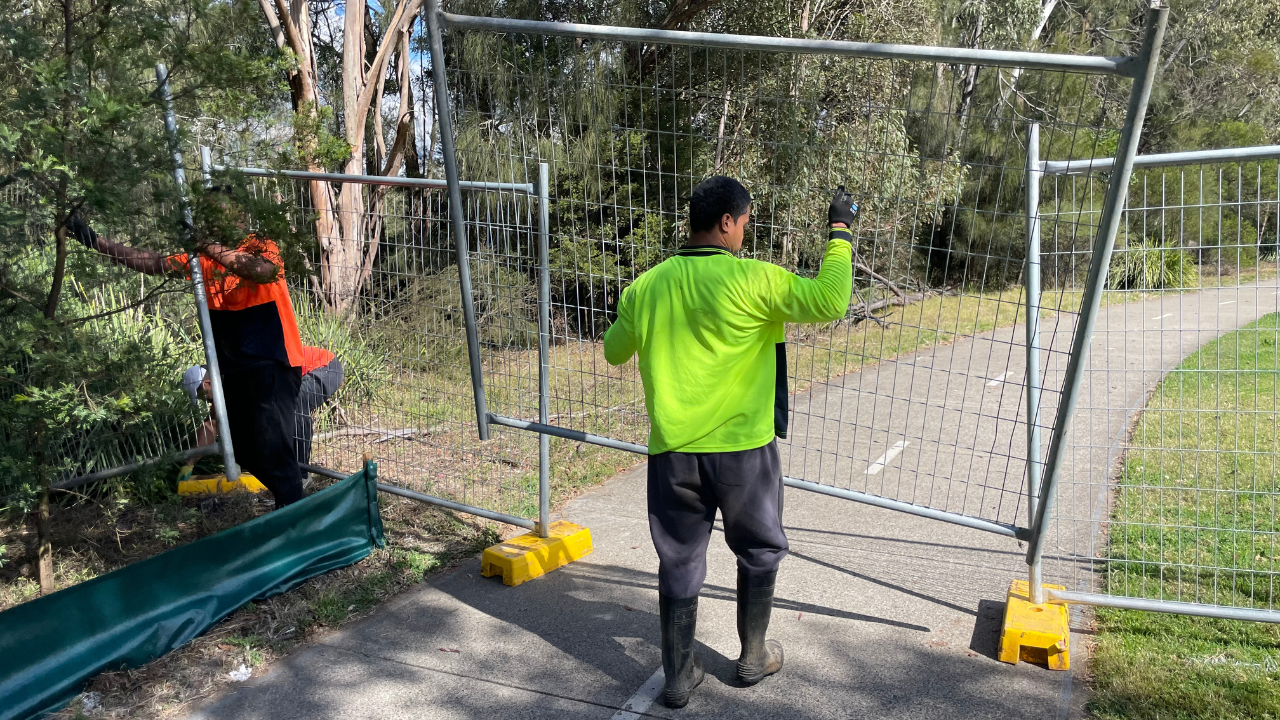
- Identify where gates or removable panels are needed.
- Measure approximate widths for vehicles, equipment, or pedestrian access.
- Include safe pathways where necessary to keep people away from work areas.
Planning access points beforehand avoids confusion during installation and ensures smooth site operations.
Step 6: Include Obstacles and Special Features
Obstacles like trees, utility boxes, driveways, or garden features affect fencing placement.
- Note these on your sketch or take photos for reference.
- Professionals can adjust panel spacing, use braces, or plan alternative setups.
Other considerations may include wind-prone areas, high-visibility requirements, or long-term installations requiring extra support.
Step 7: Double-Check and Record Everything
Before ordering or installing fencing:
- Review all measurements, angles, slopes, and access points.
- Keep a copy of your site sketch and notes.
- If possible, walk the site with your installer to confirm details.
Double-checking prevents gaps, misalignment, or last-minute adjustments during installation.
Tips for Clear Communication with Your Installer
Even if you’re not familiar with technical details, sharing key information helps installers plan effectively:
- Provide a simple sketch or diagram showing boundaries, corners, slopes, and obstacles.
- Highlight any access points and special requirements.
- Ask about panel types, stabilisers, or supports for slopes or wind-prone areas.
- Discuss project duration if the fencing is temporary for a few weeks versus longer-term use.
Good communication ensures your fencing is safe, functional, and installed efficiently.
How Ready Fence Can Help
Ready Fence supports both professionals and anyone coordinating a fencing project in Australia:
- Expert advice on measuring and planning, including corners, slopes, and access points.
- Supply of high-quality temporary fencing panels for any terrain or project scale.
- Professional installation, relocation, and ongoing support to ensure safety and stability.
Partnering with Ready Fence makes the process simple, safe, and stress-free. Contact us today to discuss your site and fencing requirements.
Get a free quote today or call us on 1800 177 000 — we’re ready when you are.